Login
The Foundation Auth micro front-end (@genesislcap/foundation-auth) provides a comprehensive set of identity-management functions, including authentication (with support for Single Sign-On) and password reset capabilities. Its features are highly customizable, allowing you to enable or disable specific functionalities as needed. Additionally, various elements of the login screen, such as the logo, can be tailored to align with your branding.
The login mechanism uses the Credential Management API for secure credential handling. When the API is unavailable, it seamlessly falls back to using cookies to ensure broad compatibility.
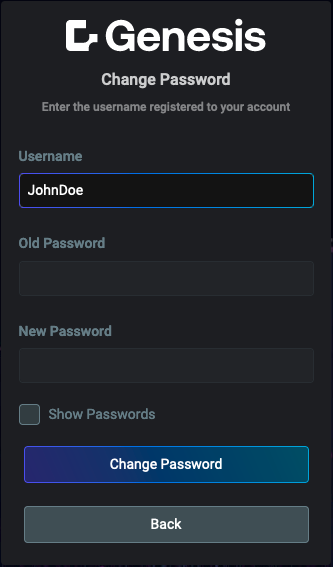
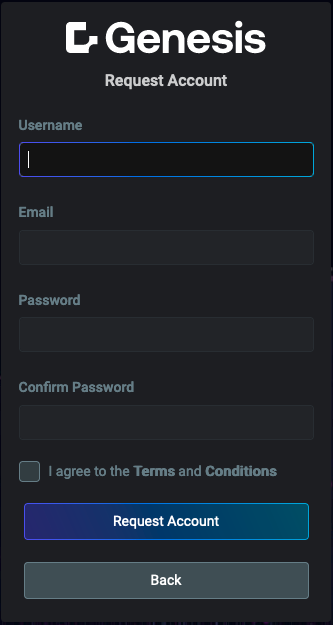
Below are examples showcasing the key screens and functionalities of Foundation Auth. These include the main login interface, authentication via Single Sign-On (SSO), and essential user management features such as password recovery, account creation requests, and password changes.
| Main login screen | Authentication via SSO | Forgotten password | Change password | Request account |
|---|---|---|---|---|
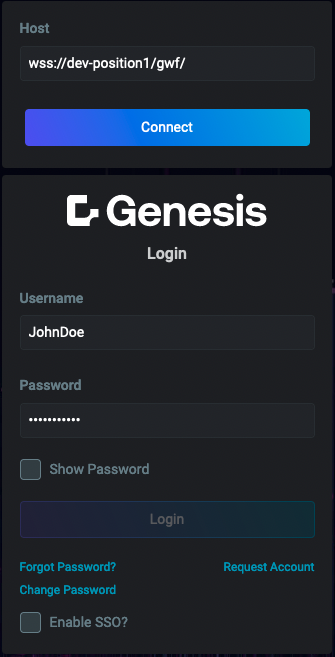 | 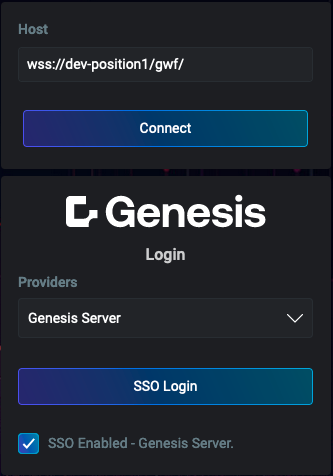 | 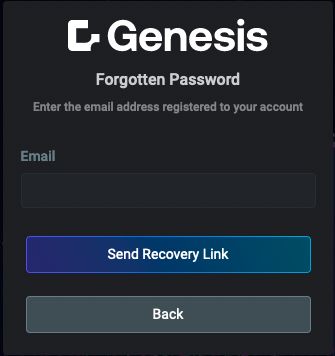 |  |  |
See complete set of API documentation here
Authentication methods
Authentication is primarily configured on the back end. It's essential to familiarize yourself with the authentication section of the back-end configuration to ensure proper integration.
Username and password
The default authentication method involves the user providing their username and password. Even when Single Sign-On (SSO) is enabled, users will still have the option to sign in using their standard credentials.
To streamline development, setting the DEFAULT_USER and DEFAULT_PASSWORD environment variables will pre-populate the login form with these credentials. This can save developers from entering the credentials repeatedly during testing. However, if the browser has previously saved login credentials, it may autofill the form, making this step unnecessary.
Single Sign-On (SSO)
Foundation Auth supports Single Sign-On (SSO) integration, allowing users to authenticate using a unified set of credentials, which may also include credentials from the Genesis Application Platform. Genesis supports SSO with both JWT and SAML.
While setting up SSO is primarily a back-end task, some front-end SSO configuration is required.
The standard SSO process involves redirecting users to the authentication provider's flow from the current page. However, many authentication providers block their system when running inside an iframe to prevent clickjacking attacks. To mitigate this, if the auth micro front-end detects it's running within an iframe, it opens the authentication flow in a separate popup window instead.
Integration
Foundation Auth is designed to integrate seamlessly into various application environments, offering flexibility in both basic and advanced use cases. Depending on your platform (Genesis, React, Angular), the integration process may vary slightly. Below, you will find guidance for both basic and advanced usage scenarios, helping you set up the login functionality in your application with ease.
@genesislcap/foundation-auth exposes a single, asynchronous configure() function. It registers the required dependency-injection config and defines the custom element in one step, then resolves with the defined FoundationAuth element class — which makes it a natural fit for a lazily-loaded route element.
Basic usage
This section outlines the steps required to quickly integrate Foundation Auth into your application. The basic setup guide covers the essential configuration for setting up the login form, as well as establishing necessary routes and authentication options.
- React
- Genesis
- Angular
This example focuses on the setup necessary for enabling authentication functionality in your Genesis application. While it's not a complete routes configuration, it includes all the required elements related to the login setup.
Place the following code in the routes/config.ts file of your application:
// Import required dependencies from the foundation-comms package
// You could also import analytics events and set them up in the NavigationContributor
import { Auth, Session } from '@genesislcap/foundation-comms';

type RouterSettings = {
  public?: boolean;
  autoAuth?: boolean;
}

// Define your router config
export class MainRouterConfig extends RouterConfiguration<RouterSettings> {
  // Ensure you inject in required dependencies
  constructor(
    @Auth private auth: Auth,
    @Session private session: Session
  ) {
    super();
  }

  // Add Login as a route
  public configure() {
    ...
    this.routes.map(
      { path: '', redirect: 'login' },
      {
        path: 'login',
        // Lazily import and configure foundation-auth; `configure()` both
        // registers the DI config and defines the custom element, resolving
        // with the element class to use for this route.
        element: async () => {
          const { configure } = await import('@genesislcap/foundation-auth/config');
          return configure({
            hostPath: 'login',
            postLoginRedirect: () => {
              Route.name.replace(this.router, 'dashboard');
            },
          });
        },
        title: 'Login',
        name: 'login',
        layout: loginLayout,
        settings: { public: true },
        childRouters: true,
      },
      ... // Other routes config here
    );

    const session = this.session;
    const auth = this.auth;

    // Example of a FallbackRouteDefinition
    this.routes.fallback(() =>
      auth.isLoggedIn ? { redirect: 'not-found' } : { redirect: 'login' }
    );

     // Example of a NavigationContributor
    this.contributors.push({
      navigate: async (phase) => {
        const settings = phase.route.settings;

        // Could add in processes such as analytics here

        // If public route don't block
        if (settings && settings.public) {
          return;
        }

        // If logged in don't block
        if (auth.isLoggedIn) {
          return;
        }

        // If autoAuth and session is valid try to connect+auto-login
        if (settings && settings.autoAuth && (await auth.reAuthFromSession())) {
          return;
        }

        // Otherwise route them to login
        phase.cancel(() => {
          session.captureReturnUrl();
          Route.name.replace(phase.router, 'login');
        });
      },
    });
  }

  ... // Other configuration/methods
}
This example focuses on the setup necessary for enabling authentication functionality in your React application. While it's not a complete routes configuration, it includes all the required elements related to the login setup.
Place the following code in the file where you want to define the auth component, so it can later be imported into your main application file:
To see the full login configuration for React, visit the howto-ui-integrations-react.
import { AUTH_PATH } from '../config';
import { history } from '../utils/history';

/**
 * Configure the micro frontend
 */
export const configureFoundationAuth = async () => {
  const { configure } = await import('@genesislcap/foundation-auth/config');

  return configure({
    name: `client-app-login`,
    hostPath: AUTH_PATH,
    postLoginRedirect: () => {
      history.push('/order-mgmt');
    },
  });
};
This example focuses on the setup necessary for enabling authentication functionality in your Angular application. While it's not a complete routes configuration, it includes all the required elements related to the login setup.
Place the following code in the file where you want to define the auth component, so it can later be imported into your main application file:
To see the full login configuration for Angular, visit the howto-ui-integrations-angular.
import type { Router } from '@angular/router';
import { getUser } from '@genesislcap/foundation-user';
import { css } from '@genesislcap/web-core';
import { AUTH_PATH } from '../app.config';
import logo from '../../assets/logo.svg';

/**
 * Configure the micro frontend
 */
export const configureFoundationAuth = async ({
  router,
}: {
  router: Router;
}) => {
  const { configure } = await import('@genesislcap/foundation-auth/config');

  return configure({
    name: `client-app-login`,
    hostPath: AUTH_PATH,
    postLoginRedirect: () => {
      router.navigate([getUser().lastPath() ?? 'order-mgmt'])
    },
    logo: css `
      content: url("${logo}");
    `,
  });
}
Advanced usage
For more complex scenarios, the advanced usage section explores how to customize Foundation Auth to meet specific needs. This includes advanced configuration options and extending its functionality for more intricate workflows, such as integrating Single Sign-On (SSO) or adding custom form fields.
The following example uses the Genesis framework. The most important aspect of this example is the configure function, which enables the application of advanced configurations. Notably, this function works the same way for React and Angular frameworks, ensuring consistency across implementations.
name: 'login',
path: 'login',
title: 'Login',
element: async () => {
  const { configure, defaultAuthConfig } = await import('@genesislcap/foundation-auth/config');
  return configure({
    sso: {
      toggled: true,
    },
    omitRoutes: ['request-account'],
    fields: {
      ...defaultAuthConfig.fields,
      organisation: {
        label: 'CompID',
      },
    },
    hostPath: 'login',
    postLoginRedirect: () => {
      Route.path.push('dashboard');
    },
    logo: loginLogo,
    background: loginBG,
    // Optionally provide a fully custom tag name for the defined element.
    name: `nexus-login`,
  });
},
layout: loginLayout,
settings: { public: true },
childRouters: true,
Configuration
The configuration section provides detailed information on how to configure and customize Foundation Auth. This section covers the management of public and private routes, as well as the available settings to tailor the authentication process and adjust the login interface to meet the specific requirements of your application.
Public and private routes
You may need to configure a NavigationContributor in your application's router configuration class to manage public and autoAuth route settings:
public: Indicates that a route is accessible without requiring user authentication.autoAuth: Automatically logs in users with an active authenticated session when they navigate away from a page and return later.
{
    path: 'info',
    element: Info,
    title: 'Info',
    name: 'info',
    settings: { public: true },
},
{
    path: 'admin',
    element: Admin,
    title: 'Admin',
    name: 'admin',
    settings: { autoAuth: true },
}
By default, a route that isn’t explicitly marked as public is considered non-public. However, non-public routes do not automatically block non-authenticated users from accessing them. This behavior must be implemented in a NavigationContributor. For more details, see the example above.
Customization options
Foundation Auth offers extensive customization options to tailor its behavior and appearance to specific application requirements. This can be achieved by using the exported configure function. Through this function, you can modify default settings, such as omitting certain routes, customizing form fields, or providing post-login/post-logout redirect behavior.
Below is a table with the available configuration properties:
| Attribute | Type | Use | Example |
|---|---|---|---|
| background | ComposableStyles | ComposableStyles[] | null | Styles for the background of the login screen. | |
| backgroundVideo | { src: string; type: 'video/ogg' | 'video/mp4' | 'video/webm'; } | null | Plays a background video behind the login form instead of a static background. | |
| feedbackDelay | number | (Optional) Delay, in milliseconds, before transient feedback messages (e.g. forgot/reset password confirmations) are cleared. Defaults to 3000. | |
| fields | FieldConfigMap | Configuration map for each of the primary form fields. | |
| hostPath | string | The path of the microfrontend as defined in the parent/host route. | |
| localizationResources | I18nextConfig['resources'] | (Optional) Internationalization (i18n) resources for localization. | |
| logo | ComposableStyles | ComposableStyles[] | null | Customizable styles for the logo. Providing null will hide the logo. | |
| logoAltText | string | Alt text for the logo, used for accessibility. | |
| omitRedirectUrls | string[] | Specifies return URLs to omit, which may have been captured by the session service. | |
| omitRoutes | | Omits specific internal routes, except for login and not-found. | |
| postLoginRedirect | () => void | Callback invoked after a successful login, used to hand control back to the host app's router. Defaults to navigating to the user's last path (or protected). | |
| postLogoutRedirect | () => void | Callback invoked after logout, used to hand control back to the host app's router. | |
| showEnvironmentIndicator | boolean | (Optional) Toggles the display of the environment indicator. See Environment Indicator for configuration details. | |
| sso | SSOConfig | null | Configures Single Sign-On (SSO) settings. | |
| templateOptions | TemplateOptions | Maps internal subcomponent tags (button, checkbox, provider, etc.) to your host application's design-system elements. Merged with the package's defaultTemplateOptions. | |
| versionInformation | string | (Optional) Displays version information for the login microfrontend. | |
AuthConfig also accepts name, attributes, shadowOptions and elementOptions (inherited from FAST's PartialFASTElementDefinition), letting you control the tag name and element definition used when configure() defines the custom element.
Terms and Conditions
The framework supports enabling a Terms and Conditions page that is presented to the user when they login. To enable this functionality add this block to the auth-preferences.kts
    mfa {
        termsAndConditions {}
    }
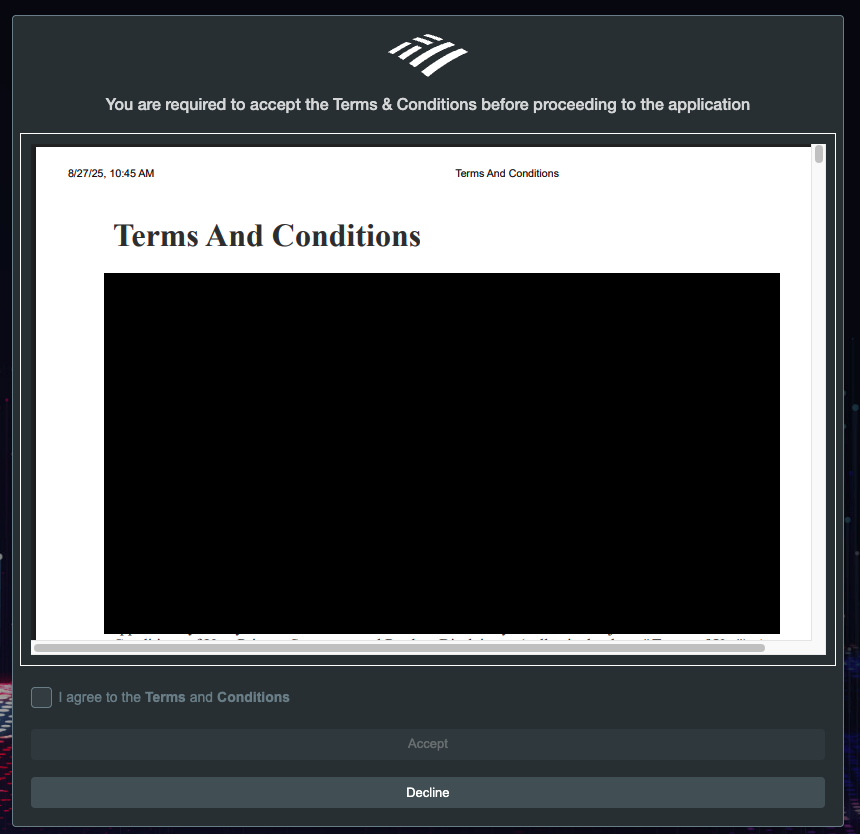
Then when the user logs in they will be presented with a Terms and Conditions dialog as shown here: