UI components
The simplest way to install the two UI components is to use the genx command. But note that you can install each component manually if you prefer.
Installing with genx
Run this command on the previous folder where your app is located (use the name of your app folder instead of alpha):
npx -y @genesislcap/genx@latest add alpha -x -s genesislcap/pbc-auth-seed
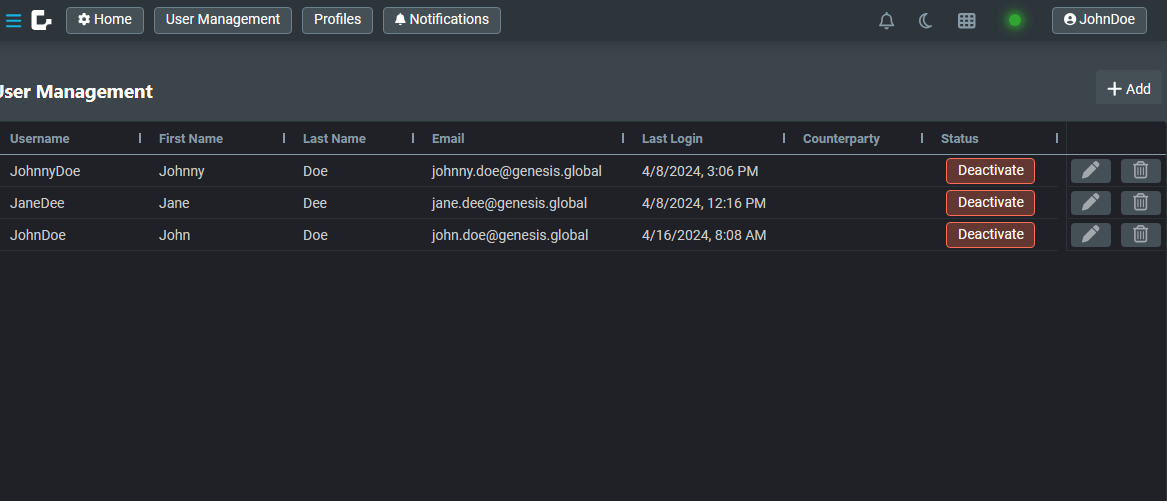
By default, this creates two components for inserting, updating and deleting users: User Management and Profiles.
User Management
The User Management component contains the personal data of all of the users of the system, such as first name, last name and email.

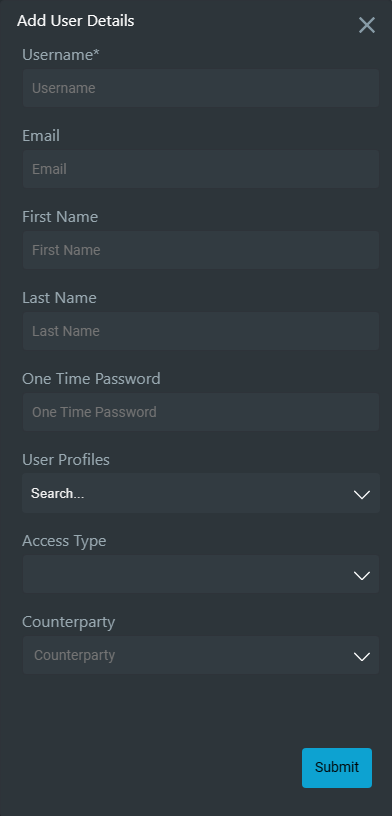
When you add or edit a user, you need to provide data for these fields:

Events
- Add:
EVENT_INSERT_USER - Edit:
EVENT_AMEND_USER - Delete:
EVENT_DELETE_USER - Activate/Deactivate:
EVENT_ENABLE_USERandEVENT_DISABLE_USER
Profiles
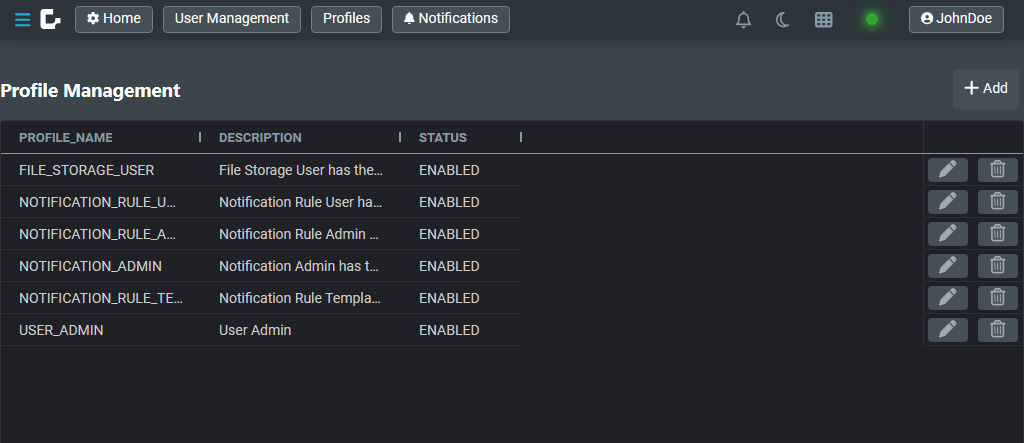
The profiles are simple entities with a name and a description. The users can be linked with one or more profiles:

When you add or edit a profile, you need to provide data for these fields:
Events
- Add:
EVENT_INSERT_PROFILE - Edit:
EVENT_AMEND_PROFILE - Delete:
EVENT_DELETE_PROFILE
You can check more details about users, profiles, rights/permissions, etc., in the authorisation section.
For a brief overview, check the User Management permissions section.
Adding components separately
If you prefer, you can add and use the components separately.
Just import the dependency in client/package.json file:
"@genesislcap/pbc-auth-ui": "~1"
And you can declare user-management or profile-management component in a template.ts file:
<user-management></user-management>
<profile-management></profile-management>