Foundation Login
You can find detailed information on this micro front-end in the API documentation.
Introduction
This micro front-end provides a set of identity management functions, such as authentication (including via SSO) and password reset. Many of the features can be turned on and off as desired, and parts of the login screen (such as the logo) can be customised.
Login uses the Credential Management API, falling back to cookies when unavailable.
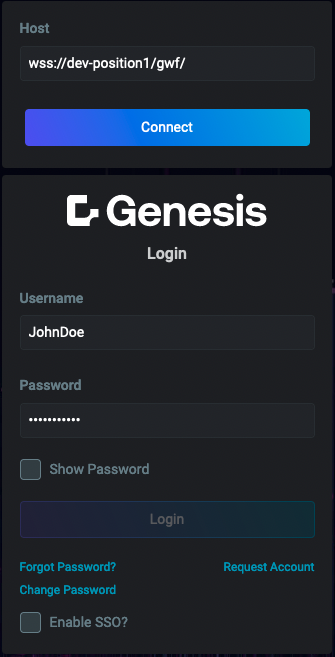
An example of the main login screen:
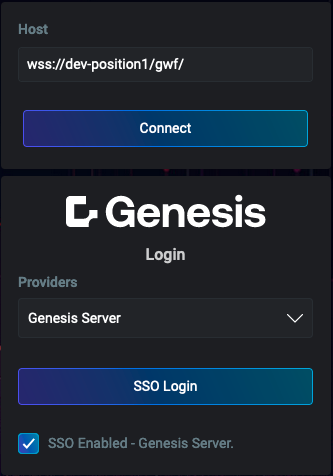
An example of authentication via SSO:
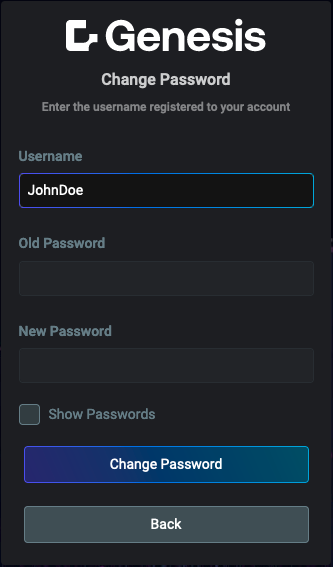
An example of the change password screen:
Login set-up
If you build a project upon one of the Genesis seed apps, then the Login micro front-end will already be set up for you.
To enable this micro front-end in your application, follow the steps below.
- Add
@genesislcap/foundation-loginas a dependency in your package.json file. Whenever you change the dependencies of your project, always run the$ npm run bootstrapor$ npm run bootstrap:ignore-scriptscommand again. You can see more information on the package.json basics page.
{
  ...
  "dependencies": {
    "@genesislcap/foundation-login": "latest"
  },
  ...
}
This page assumes you're using the routing systems that are part of foundation-ui, and will cover set-up as part of that routing system.
Once installed, you can either use Login as is or re-configure it. As with all our micro front-ends, you also have the option of lazy-loading it.
Basic usage
Advanced usage
Public and private routes
You may need to set up a NavigationContributor in your application's router config class to handle public and autoAuth route settings.
public, which indicates that a route doesn't require the user to be authenticated to view itautoAuth, where, if the user already has an authenticated session, they are automatically logged in again if they navigate away from a page and then return
{
    path: 'info',
    element: Info,
    title: 'Info',
    name: 'info',
    settings: { public: true },
},
{
    path: 'admin',
    element: Admin,
    title: 'Admin',
    name: 'admin',
    settings: { autoAuth: true },
}
By default, a route that isn't marked public is not. However, a non-public route isn't automatically going to block non-authenticated users from viewing them. This must be implemented in a NavigationContributor; see example.
Authentication
For authentication, most configuration is set in the back end. You should familiarise yourself with the authentication section of the back-end.
Username & password
The standard authentication method is the user supplying their username and password. Even when SSO is enabled as an authentication method, the user will still have the option to sign in with their normal credentials.
Setting the DEFAULT_USER and DEFAULT_PASSWORD environment variables automatically populates the credentials in the login form, which can be useful during development so developers don't need to write out their credentials continuously.
However, the browser could also offer auto-filling if you have previously chosen to save your credentials, which can make setting these unnecessary.
SSO
SSO enables the Login micro front-end to work with your company's existing authentication system, so users can have a single set of credentials - including those built on the Genesis low-code platform. Genesis supports SSO with both JWT and SAML.
Setting up SSO is primarily a back-end task; however, there is a small amount of front-end sso configuration required.
In the standard SSO process, the SSO authentication provider flow is opened via a redirect in the current page. However, many authentication providers block their system when running in an iframe to prevent clickjacking attacks.
To avoid this, if the Login micro front-end detects that it is running in an iframe, it opens up the authentication provider in a popup.
Customising login
The Login micro front-end can be customised using an exported configure function. See configure in the API docs for more information.
License
Note: this project provides front-end dependencies and uses licensed components listed in the next section; thus, licenses for those components are required during development. Contact Genesis Global for more details.
Licensed components
Genesis low-code platform